Water leaks can be a homeowner’s worst nightmare. They often appear out of nowhere, cause damage to your property, and can lead to expensive repairs. When you notice water pooling around your HVAC system, it’s crucial to take immediate action to prevent further damage. In this blog post, we’ll guide you through the steps to follow if you have a water leak from your HVAC system.
Step 1: Turn Off the HVAC System
The first and most crucial step is to shut off your HVAC system. Shutting off the AC will stop the water flow and prevent additional damage. Locate the power switch or circuit breaker that controls your HVAC system and turn it off. If you need clarification on this step, consult your HVAC system’s user manual or contact a professional HVAC technician.
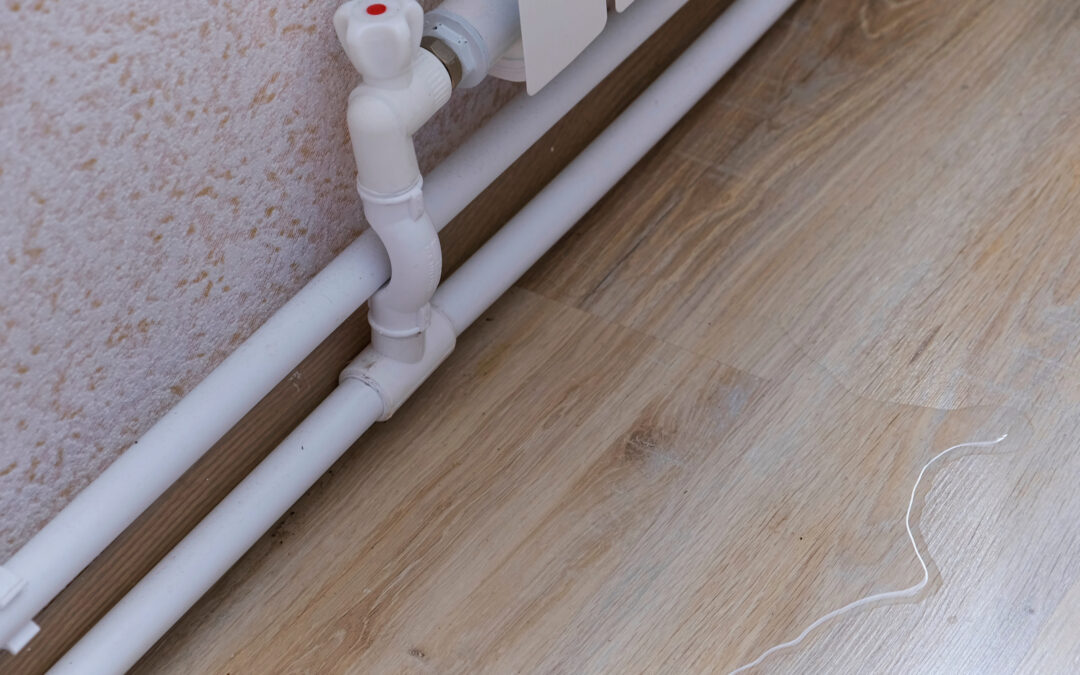
Step 2: Identify the Source of the Water Leak
Once you’ve turned off the HVAC system, try to determine the source of the leak. HVAC systems can have various components that may be responsible for the leak:
Condensate Drain Line:
This is one of the common sources of leaks. Over time, as dirt or dust accumulates, it can begin to block the flow through the drain line. Water may overflow from the drip pan if the drain line is clogged or disconnected.
Drip Pan:
Check the drip pan underneath the HVAC unit. If it’s full or damaged, it may cause a leak.
Refrigerant Line:
In rare cases, a refrigerant line may develop a leak. This liquid can look like water but is usually colder to the touch.
Humidifier:
If your HVAC system includes a humidifier, it might be the source of the leak. The humidifier empties through the drain line, so water can build up and leak out if it’s clogged or blocked. A trained AC technician can address the leak and drain pipe if needed.
Frozen Coils:
If the evaporator coil becomes frozen, this can cause leaks. As the coils thaw, water can accumulate around the unit. A clogged air filter can cause the evaporator coil to freeze, so check the filter. If it’s dirty, replacing it might address the issue. However, if the filter is clean, there might be other damage to the coil.
Step 3: Clean Up and Prevent Water Damage
Once you’ve identified the source of the leak, start cleaning up the water to prevent any damage to your property. Use towels, buckets, or a wet/dry vacuum to remove the water. If the leak has caused damage to the surrounding area, such as drywall or flooring, it’s essential to address those issues promptly to prevent mold growth or structural damage.
Step 4: Contact a Professional HVAC Technician
While you may have identified the leak’s source, a professional HVAC technician must inspect and repair the issue. HVAC systems are complex, and attempting to fix them without proper knowledge can lead to further problems. A technician can diagnose the problem accurately and perform the necessary repairs to prevent future leaks.
Step 5: Prevent Future Water Leaks with Regular Maintenance
Prevention is the key to avoiding future HVAC water leaks. Schedule regular maintenance checks with a qualified HVAC technician. They can clean and inspect your system, ensuring all components are in good working condition. Additionally, ask your technician to install a water alarm or overflow shutoff device, which can provide early warnings of potential leaks.
Freedom Heating & Air | Air Conditioning Water Leak Services
A water leak from your HVAC system can be stressful, but with the right actions and professional help, you can mitigate the damage and prevent it from happening again. Remember to turn off the system, identify the source, clean up the water, contact an AC technician for repairs, and prioritize regular maintenance to keep your HVAC system running smoothly and leak-free. By taking these steps, you’ll ensure the comfort and safety of your home while protecting your investment in your HVAC system.
At Freedom Heating & Air, your comfort is our mission! Contact Freedom Heating & Air at (214) 306 – 8456 to learn more about our Air Conditioning & Heating Maintenance Plan today!